No matter if it’s your first sewing machine or upgrading from an older machine, this guide is here to help you navigate its features. From finding needle position knobs and stitch length settings, all the way to how we stitch! We cover everything.
Before beginning, locate the power switch on your machine. It should be on a small lever with numbers and arrows printed alongside.
Threading
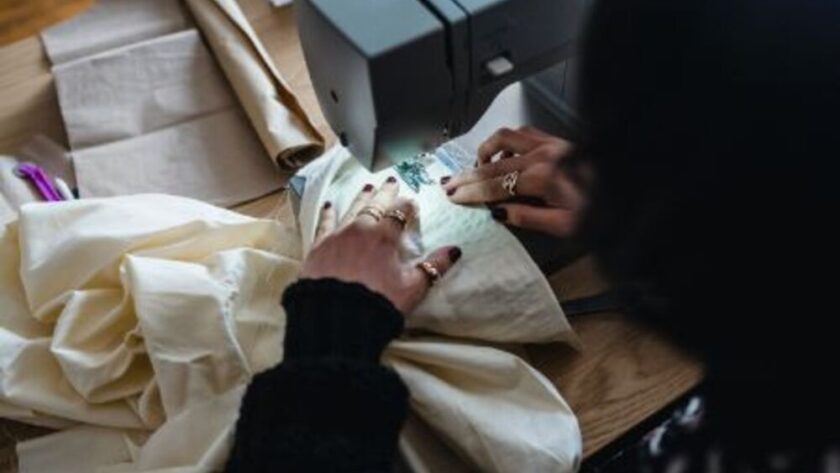
Threading your sewing machine involves connecting both upper and lower threads so the machine can weave them together to produce stitches in fabric. Although the process may appear daunting at first, practice will make this task far simpler! As each make and model of machine will have slightly different threading steps. To start threading your machine successfully you should read your instruction manual first!
Begin by threading the spool pin of your machine, which is the tall stick that holds thread spools. After that, add a spool cap large enough so the thread won’t catch on it and voila – you have started stitching! Know more about embroidery machine for beginners.
Once the machine is set up, wind the bobbin using the tension disc at the top. If you don’t own a winder, pre-wound bobbins may also be available at craft stores. Once finished, place it back into its case and close it.
Bobbin Winding
An unwound bobbin is essential to sewing. Keeping an extra on hand will allow you to quickly replace one that runs out.
Before beginning, ensure the bobbin case is empty and that your needle is in the highest position. Remove any thread that may already be on the bobbin before placing it onto your winder and shifting it rightwards.
Wind your bobbin using either the foot pedal or starter button, stopping to cut thread close to its hole after every few turns. Place your newly wound bobbin back in your machine and start sewing!
Stitch Lengths
Stitch length settings on a sewing machine determine how long each stitch will be. They are often displayed in millimeters; however, you may also come across them listed as stitches-per-inch.
Lower numbers on the dial represent shorter stitches; this setting will likely be the default choice on most modern machines and should suffice for most sewing projects.
Change the stitch length for dramatic effects in your projects! Shorter stitches produce tighter knit fabric while longer ones create looser, wave-like stitches.
Stitch length is also essential when quilting. Adjusting it can change the look of your quilting while also adding stability to it, so knowing which stitch length best matches your fabric and project can help ensure professional results. Adjusting stitch length on a sewing machine is simple; simply look for its dial on either the front or top side to adjust.
Troubleshooting
No sewing machine malfunction is more frustrating than when its components stop cooperating as planned, yet most issues can often be remedied without visiting a repair shop. Keep a copy of your machine’s manual close at hand and follow these quick troubleshooting tips to quickly get back up and running again.
If your thread bunches up when sewing on fabric, it could be indicative of tension issues with your machine. An excessively loose top thread could indicate this while underthread bunching could indicate too tight of tension in your bobbin’s tension system. Be sure that all threads match properly and refer back to your manual for solutions on how best to address them.
Likewise, if your machine is misfeeding through layers of your project unevenly, this could indicate a feed dog issue. Lint build-up may be to blame; therefore it is crucial that you clean regularly around feed dogs and their surrounding area; consult your manual as to whether oiling may also be required.